Difference between revisions of "Adding a remote calendar in EasyMail"
Your guide to pathway services
m (Protected "Adding a remote calendar in EasyMail" ([Edit=Allow only administrators] (indefinite) [Move=Allow only administrators] (indefinite)) [cascading]) |
|||
| Line 40: | Line 40: | ||
<li>Click '''Save'''.</li> | <li>Click '''Save'''.</li> | ||
</ol> | </ol> | ||
| + | |||
| + | |||
| + | |||
| + | [[File:EasyMail add remote calendar3.png|none|EasyMail add remote calendar3.png]] | ||
| + | |||
| + | |||
| + | |||
| + | The calendar will now appear under the '''Remote Calendars '''pane. | ||
| + | |||
| + | |||
| + | |||
| + | [[File:EasyMail remote calendar pane.png|none|EasyMail remote calendar pane.png]] | ||
Latest revision as of 15:27, 6 July 2015
Users can link remote calendars to EasyMail.
To add a remote calendar:
- Log in to EasyMail.
- Click the Calendar tab.
- Click the + (plus) icon beside Remote Calendars.
- In the URL field, enter the url of the calendar you would like to access.
- In the Color field, enter a color hex code, or select a color using the color picker.
- Click Continue.
- In the Name field, enter a name for the calendar.
- In the Description field, create a description for the calendar.
- Click Save.
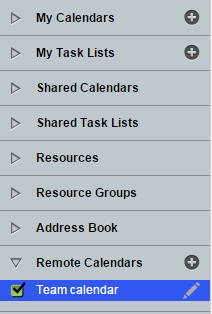
The calendar will now appear under the Remote Calendars pane.


