Difference between revisions of "Setting up an Autoresponder message"
Your guide to pathway services
| (4 intermediate revisions by one user not shown) | |||
| Line 4: | Line 4: | ||
To begin, log in to HostPath: | To begin, log in to HostPath: | ||
| − | |||
| − | |||
#Go to [https://66.212.164.2:8080/index.php https://hostpath.pathcom.com]. | #Go to [https://66.212.164.2:8080/index.php https://hostpath.pathcom.com]. | ||
| Line 14: | Line 12: | ||
[[File:HostPath email login wiki.png|none|HostPath email login wiki.png]] | [[File:HostPath email login wiki.png|none|HostPath email login wiki.png]] | ||
| − | |||
| − | |||
| Line 30: | Line 26: | ||
| − | <ol start=" | + | <ol start="6"> |
| − | <li>name of the mailbox that you would like to set an autoresponder for.</li> | + | <li>Click the name of the mailbox that you would like to set an autoresponder for.</li> |
</ol> | </ol> | ||
| Line 39: | Line 35: | ||
| − | <ol start=" | + | <ol start="7"> |
<li>Click the '''Autoresponder '''tab</li> | <li>Click the '''Autoresponder '''tab</li> | ||
<li>In the '''Email Subject '''field, create the message subject for your automated response. (The default is ''Out of office reply'')</li> | <li>In the '''Email Subject '''field, create the message subject for your automated response. (The default is ''Out of office reply'')</li> | ||
| Line 48: | Line 44: | ||
<li>Click '''Save'''.</li> | <li>Click '''Save'''.</li> | ||
</ol> | </ol> | ||
| − | |||
| − | |||
| − | |||
| − | |||
[[File:Autoresponder1.PNG|none|Autoresponder1.PNG]] | [[File:Autoresponder1.PNG|none|Autoresponder1.PNG]] | ||
Latest revision as of 11:48, 7 November 2016
An Autoresponder is an automated message that notifies your contacts that you are unable to view or respond to their emails.
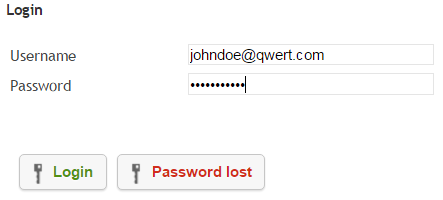
To begin, log in to HostPath:
- Go to https://hostpath.pathcom.com.
- Enter your email username and password.
- Click Login.
To set up an Autoresponder:
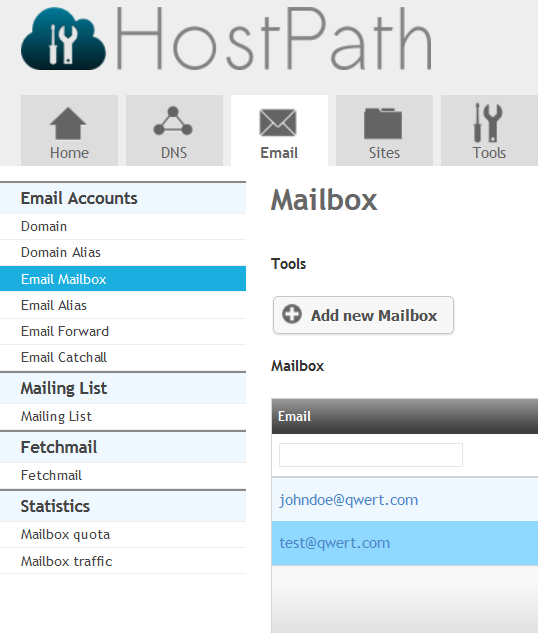
- Click on the Email tab.
- Click Email Mailbox.
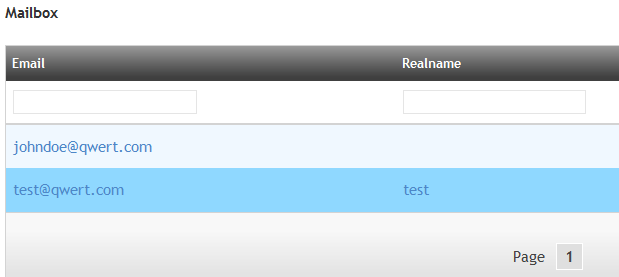
- Click the name of the mailbox that you would like to set an autoresponder for.
- Click the Autoresponder tab
- In the Email Subject field, create the message subject for your automated response. (The default is Out of office reply)
- In the Text field, enter the body text for your automated response.
- Select the Enable the autoresponder checkbox to activate the autoresponder. To deactivate the autoresponder unselect the checkbox.
- In the Start on section, use the dropdown lists to select the start date and time for the autoresponder.
- In the End by section, use the dropdown lists to select the end date and time for the autoresponder.
- Click Save.


