Difference between revisions of "Publish a ASP.NET website in Hyper V"
Your guide to pathway services
(Created page with "<div><div>To publish your website using ASP.NET:</div><div><br/></div><div><br/></div> #Click '''WEB SITES'''. <div> </div><div>File:Hyper V click websites 1.png<br/>...") |
|||
| Line 38: | Line 38: | ||
<li>Click '''Publish'''.</li> | <li>Click '''Publish'''.</li> | ||
</ol> | </ol> | ||
| + | |||
| + | |||
<div> After the publish is done, you can launch your website and you will see your asp.net website.</div><div><br/></div><div><br/></div><div>[[File:Hyper V publish asp.net 5.png]]<br/></div><div><br/></div></div><div><br/></div> | <div> After the publish is done, you can launch your website and you will see your asp.net website.</div><div><br/></div><div><br/></div><div>[[File:Hyper V publish asp.net 5.png]]<br/></div><div><br/></div></div><div><br/></div> | ||
Revision as of 10:55, 5 July 2016
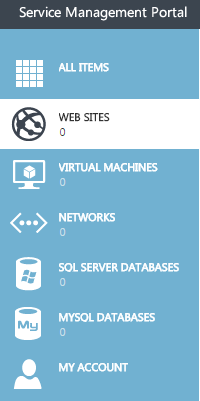
To publish your website using ASP.NET:
- Click WEB SITES.
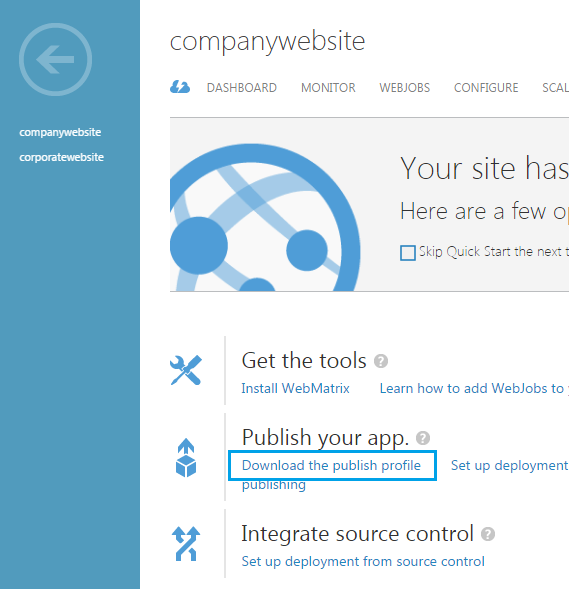
- Select the website that you would like to use.
- Click Download the publish profile.
- Open the downloaded profile, and add it to your website server.
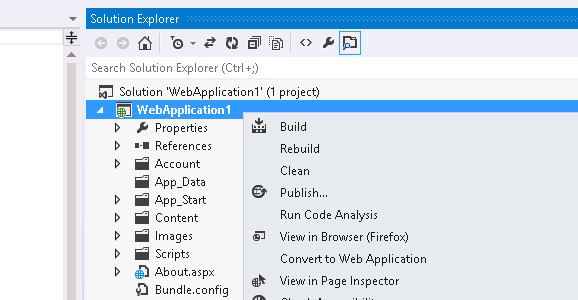
- Open your web project in the Solution Explorer.
- Click Publish…
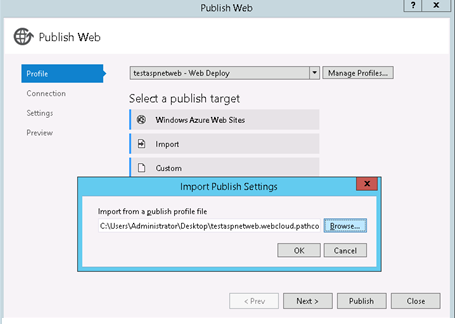
- Click Profile.
- Click Import.
- Import your publish profile.
- Click OK.
- Click Next.
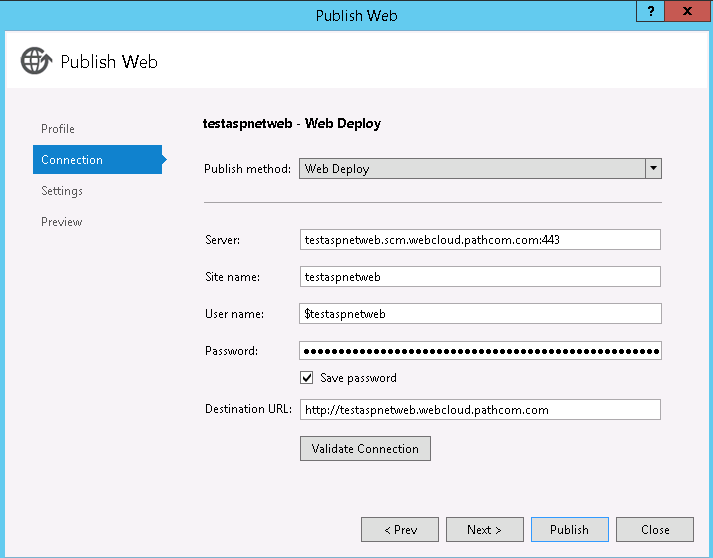
- Verify the information on the Connection screen.
- Click Next.
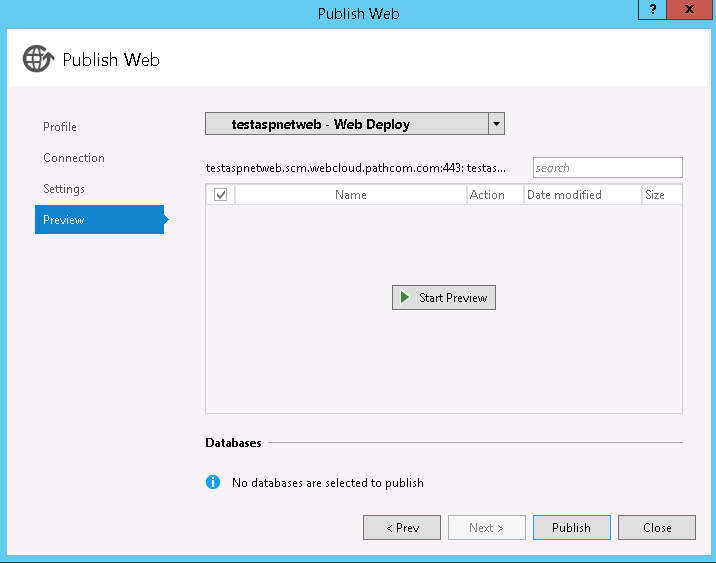
- Click Preview.
- Click Start Preview.
- Click Publish.
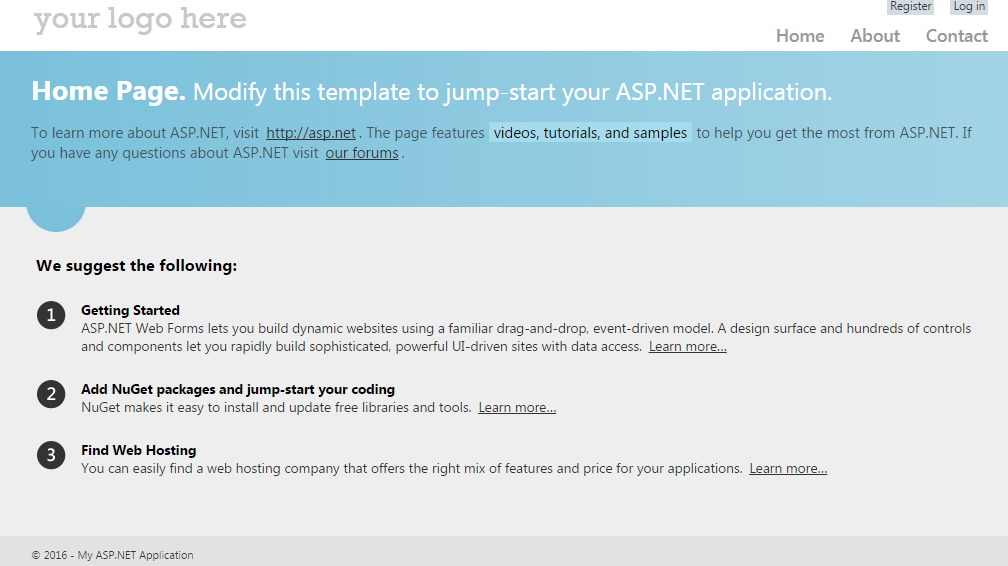
After the publish is done, you can launch your website and you will see your asp.net website.


