Creating a task in EasyMail
Your guide to pathway services
Revision as of 12:48, 11 June 2015 by Pathway Admin (Talk | contribs)
To create a task in EasyMail:
- Log in to EasyMail.
- Click the Tasks tab.
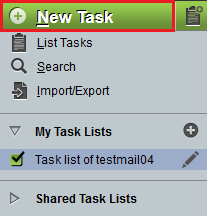
- Click New Task.
- In the Name field, enter a name for your task.
- From the Parent task dropdown list, select a parent task to group this new task under, or select No Parent Task.
- (Optional) In the Tags field, enter tags for the task. (use a semi colon ; to separate tags).
- From the Assignee dropdown list, specific who this task will be assigned to.
- If you would like to keep this task private, select the Private? checkbox.
- In the Due By section, specify a due date. If there is no due date, select the No due date checkbox.
- In the Delay Start Until section,specify when you would like to begin the task.
- In the Alarm section, specify when you would like to set a reminder. If you don't need a reminder, select the None checkbox.
- In the Notification section, confirm your notification method.
- From the Priority dropdown list, set the task priority.
- (Optional) In the Estimated Time field, enter the amount of time, in minutes, that the task should take (number values only).
- If the task has already been completed, select the Completed? checkbox.
- In the Description field, enter a task description.
- Click Save.


