Scheduling an appointment using the Outlook Web App
Your guide to pathway services
Users can schedule appointments using the Outlook Web App (OWA).
To schedule an appointment:
- Log in to OWA.
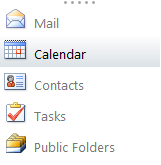
- Click Calendar.
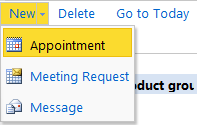
- Click the dropdown arrow beside New.
- Click Appointment.
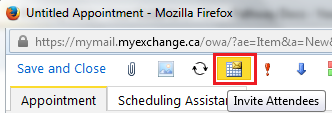
- Click the Invite Attendees icon.
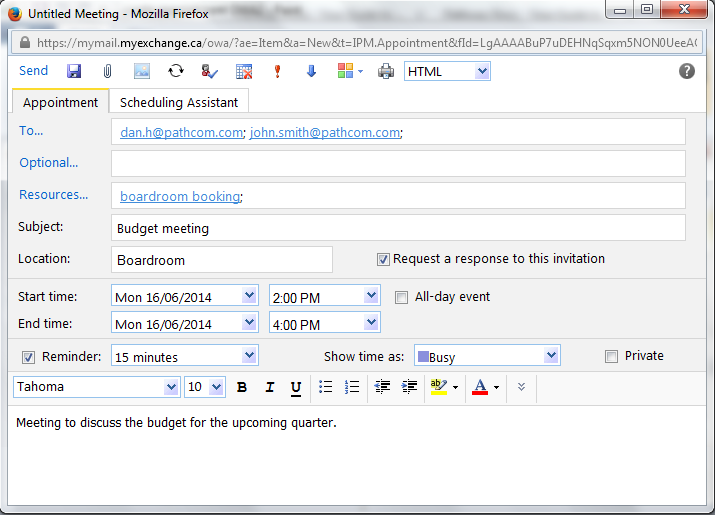
- In the To... field, enter the email addresses of your required attendees.
- In the Optional... field, enter the email addresses of any optional attendees.
- In the Resources... field, enter any resources that are required (e.g. - conference room).
- In the Subject field, create a subject for the appointment.
- In the Location field, enter a location for the subject.
- If you would like to receive response notifications, select the Request a response to this invitation checkbox.
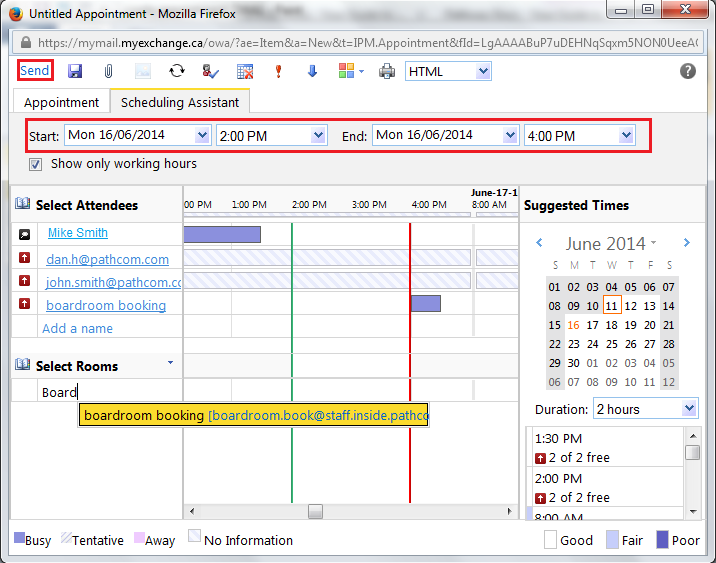
- Use the dropdown lists to select the appointment Start time, and End time.
- If you would like to make this invitation private, select the Private checkbox.
- Enter a message subject in the text field.
- Select the Scheduling Assistant tab.
- Navigate through the scheduling calendar to see if there are any conflicts. If any conflicts arise you can modify the start time and end time of the appointment.
- Review the appointment details.
- Click Send.


