Using Storig WebDAV to set up your cloud drive on your workstation
Your guide to pathway services
Storig files can be accessed through a cloud drive. This can be acheived be enabling the option using your Storig WebDAV.
To enable your cloud drive:
- Log in to Storig.
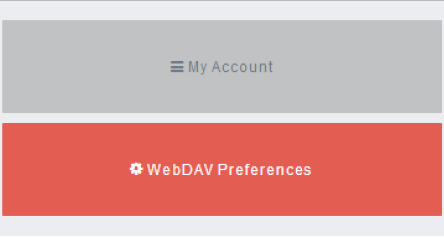
- Click My Profile.
- Click WebDAV Preferences.
- Select the Activate WebDAV shares checkbox.
- Click the Show alternative URLs (mount workspaces separately) dropdown arrow.
By default, Storig provides 2 workspaces:
- The first workspace is for your personal files (My Files): https://www.storig.com/shares/my-files.
- The second workspace is for the files you share with your group or your organization (My Group): https://www.storig.com/shares/my-group
You will need these links to mount 2 separate cloud drives on your Windows machine.
To access your workspaces from your desktop:
- Download updates for Microsoft Windows by clicking on this link: Windows Updates.
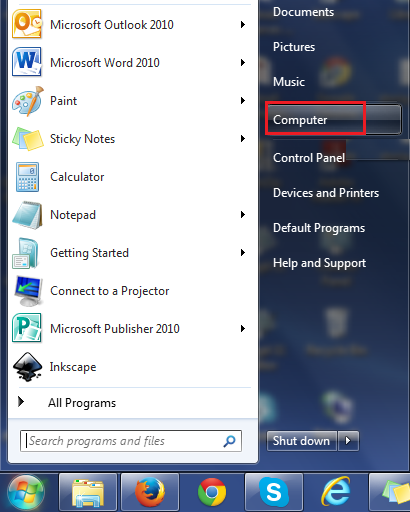
- Open the start menu and then click Computer.
- Click Map network drive.
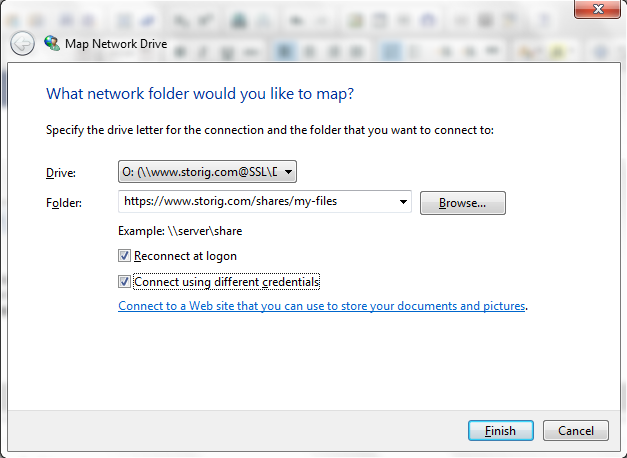
- From the Drive dropdown list, select a drive for your Storig drive.
- In the Folder field, enter the link for the workspace that you would like to access.
- Select the Reconnect at logon and Connect using different credentials checkboxes.
- Click Finish.
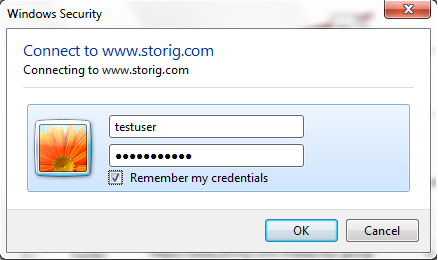
- In the username field, enter your username.
- In the password field, enter your password.
- Select the Remember my credentials checkbox if you would like your credentials to be saved.
- Click OK.
Your storig drive should now be mounted on your workstation.


